
French toast is a timeless breakfast favourite, known for its sweet, custardy interior and crispy, golden exterior. This recipe elevates the classic French toast to new heights, ensuring each slice is perfectly soaked and cooked to perfection. Ideal for a luxurious breakfast or brunch, this dish can be dressed up with a variety of toppings and syrups. Whether you're a seasoned cook or new to the kitchen, this recipe is simple, straightforward, and sure to impress.
Find more inspiration for breakfast recipes in our selection!
Sausage and Egg Sandwiches are a classic and satisfying breakfast choice, ideal for those mornings when you need something hearty and fulfilling. This recipe combines savory sausages, fluffy scrambled eggs, and melted cheese, all sandwiched between toasted bread or English muffins. Whether you're on the go or enjoying a relaxed breakfast at home, these sandwiches are sure to please everyone. They're easy to make and can be customized with your favorite condiments and types of bread.
Find more inspiration for breakfast recipes with Yumoid!
Roasted Potato and Chorizo Hash is a hearty and flavourful dish perfect for a filling breakfast or brunch. This recipe combines the spicy and rich flavours of chorizo with the comforting taste of roasted potatoes, complemented by bell peppers and onions for added texture and taste. It's an ideal meal for those who love a bit of spice in their morning routine. Simple to prepare and bursting with flavour, this hash will become a favourite for both its taste and ease of cooking.
Explore more breakfast recipes now!
Enjoy your delicious Roasted Potato and Chorizo Hash, a perfect blend of flavors and textures to kick start your day with energy and satisfaction!
Granola is a versatile and nutritious breakfast option, perfect for busy mornings or a leisurely brunch. This Best-Ever Granola recipe is a delightful mix of crunchy oats, nuts, and seeds, sweetened with honey or maple syrup. It's easy to make and can be customized with your favorite ingredients. Serve it with milk, yogurt, or enjoy it as a snack on its own. Packed with fiber and energy, this homemade granola is a healthy and delicious way to start your day.
Explore other Breakfast recipes for the best start to your day!
Enjoy your Best-Ever Granola with yogurt, milk, or as a crunchy snack on its own. It's not only delicious but also customizable to fit your taste preferences and dietary needs!
Fluffy pancakes are a beloved breakfast treat, perfect for lazy weekends or special occasions. This recipe will guide you in creating the softest, most delicious pancakes that are light on the inside and golden brown on the outside. With just a few simple ingredients and easy-to-follow steps, you'll be able to whip up a batch of these heavenly pancakes in no time. Get ready to enjoy a stack of warm, buttery pancakes, drizzled with your favorite syrup and toppings!
Explore other breakfast recipes here!
Start your day with a refreshing and nutritious Berry Yogurt Bowl featuring Greek yogurt. This simple yet delightful breakfast recipe combines the creamy tang of Greek yogurt with the natural sweetness and antioxidants of fresh berries. It's an ideal breakfast for those seeking a healthy, quick, and delicious meal. You'll need just a few ingredients and a couple of minutes to put together this vibrant and energizing bowl.
Scrambled eggs are a classic, versatile breakfast staple beloved worldwide. Known for their simplicity and rich flavor, they can be customized to suit any taste. This breakfast recipe guides you in creating the best-ever scrambled eggs, using a few basic ingredients and simple kitchen tools. Perfect for a quick breakfast or a lazy brunch, these eggs are fluffy, creamy, and guaranteed to start your day off right.
The gin and tonic is a classic cocktail that has stood the test of time. Its origins can be traced back to the 19th century when British soldiers in India mixed gin with quinine-laced tonic water as a means to ward off malaria. Today, the gin and tonic has transcended its medicinal beginnings and become a beloved, easy-to-make drink, perfect for any occasion or time of day.

Choosing the right gin and tonic pairing is a crucial step in creating a flawless cocktail. With a wide variety of premium gins and tonics available today, the options for personalizing your drink are virtually limitless. The key to a perfect gin and tonic lies in the balance of flavors; the bitterness of tonic water should harmonize with the aromatics of the gin, allowing each ingredient to shine.
Learn the basics about making cocktails - or find inspiration with 5 easy cocktail recipes now!
The origins of the gin and tonic can be traced back to pre-1900s India, where it was initially created as a cure for malaria. British officers of the East India Company operating on the Indian subcontinent began mixing gin with tonic to create this classic cocktail. The popularity of gin and tonic grew over time, particularly in British-occupied India around the 1920s to 1930s.
During this period, dry gin became a familiar mixing spirit, taking over from genever, which had been popular from the 1870s to 1900. The gin and tonic continued to evolve, with the addition of various garnishes like lime and cucumber, enhancing the basic recipe. It remained a popular choice for well over a century, with gin sales in Britain alone reaching 40 million bottles a year and 1.12 billion G&Ts being consumed annually, according to a 2016 study by the Wine and Spirit Trade Association.
In the 21st century, the gin and tonic has seen a resurgence in popularity, with craft gins and artisanal tonics adding new dimensions to the classic cocktail. Today, variations of the gin and tonic can be found all over the world, each with its unique twist.

To make a refreshing and perfectly balanced Gin and Tonic, you need a few key ingredients. First and foremost, a high-quality gin is essential for the best flavor. Some popular choices include London Dry Gin (such as Beefeater), Plymouth Gin, or Bombay Sapphire. London Dry gins offer a more straightforward taste, while Plymouth gin adds a touch of extra aroma and Bombay Sapphire contributes a unique flair.
In addition to the gin, a good tonic water is necessary to balance out the bitterness. There are various tonic waters available on the market, so feel free to experiment until you find the one that suits your taste. Some popular options include Fever-Tree and Q Tonic.
When it comes to garnishes, a classic Gin and Tonic typically calls for a lime wedge or wheel, but you can also mix it up with other citrus fruits or even consider different garnishes altogether, such as cucumber, rosemary, or mint.
To craft the perfect Gin and Tonic, you will need the following ingredients:
With these key ingredients in hand, you can create a delicious and classic Gin and Tonic that is perfect for any occasion. Remember that quality and balance are essential, and feel free to experiment to find the perfect combination that caters to your personal taste.

When crafting the perfect gin and tonic, selecting the right gin is essential. Though there are numerous options available, some gins will pair better with specific tonics, thus striking the perfect balance between bitterness and sweetness.
In general, opt for a high-quality gin to ensure the drink's success. Premium gins, such as London Dry, have a distinctive juniper flavor that complements the tonic's bitterness. Alternatively, one could choose a flavored gin, where the botanicals are infused during production, offering another layer to the drink's flavor profile.
There is no definitive answer when it comes to the perfect gin for a gin and tonic, as the choice relies heavily on personal preference. Here are some suggestions to consider when choosing the right gin:
Ultimately, experimenting with various gins is key to finding one's preferred gin and tonic recipe. Do not be afraid to try different combinations, and be sure to use high-quality tonic water to ensure the best results. Remember, the ideal gin and tonic is determined by individual taste, so embrace the process and enjoy the journey to discover the perfect balance.
When crafting a classic gin and tonic, choosing the right tonic water is essential to achieve a harmonious balance between the bitterness of the tonic and the gin's flavors. There are several varieties of tonic water available, with varying levels of sweetness and bitterness.
Quinine is the key ingredient that provides the characteristic bitterness to tonic water. The quantity and quality of quinine in different tonic brands can impact the final taste of your gin and tonic. Some popular tonic water brands include Schweppes, Fever-Tree, and Q Tonic.
Here are a few factors to consider while selecting the perfect tonic water for your gin and tonic:
Experimenting and tasting different tonic water brands and flavors with your favorite gin can help determine your preferred combination for the perfect gin and tonic. Remember to store your tonic water in a cool and dark place and always use fresh bottles for the best results.
When crafting the perfect gin and tonic, it's essential to find the right balance between the gin and tonic water. The ideal ratio of gin to tonic allows the distinct flavors of the botanical ingredients to shine through while tempering the alcoholic notes. Generally, aiming for a ratio of 1:3, or 1 part gin to 3 parts tonic water, will yield a well-balanced beverage.
To further enhance the experience, it is important to use high-quality ingredients, such as a premium gin and a good tonic water like Schweppes. Chilling all ingredients in advance is also recommended, as cold temperatures help retain carbonation from the tonic water.
Here's a simple recipe to create the perfect gin and tonic:
Remember, the key to a great gin and tonic is to balance the bitterness of tonic against the gin. This ensures that neither flavor overpowers the other, creating a harmonious and refreshing drink. Choose a gin with a flavor profile you enjoy, and don't forget the lime for a final citrusy touch. By following these proportions and tips, you'll be able to create the perfect gin and tonic every time.
To achieve a perfect Gin and Tonic, it's essential to follow certain mixing techniques. Proper chilling and carbonation are crucial to maximizing the flavor of the cocktail.
Chill all ingredients in advance. Ensuring that the gin, tonic water, and the glass are all chilled is important to preserve the carbonation of the tonic water. Carbon dioxide dissipates quicker in warm liquids, and bubble retention is vital for a refreshing Gin and Tonic.
Proper measurements. Using a jigger or a measuring cup, measure your gin and tonic water in a 1:3 ratio. One part gin and three parts tonic water will create a well-balanced drink.
Use quality ice. Not all ice is equal, use large, fresh and transparent ice cubes to avoid diluting the cocktail too much.
Glass filled with ice. Fill the glass entirely with ice, then pour the gin, followed by the tonic water. This sequence allows for better mixing and prevents tonic water from dominating the taste.
Gentle stirring. After pouring the gin and tonic water, gently stir them together. Avoid vigorous stirring, as it can cause the drink to lose carbonation.
Adding citrus. A twist or slice of lime is a common garnish for a Gin and Tonic. Adding the citrus oils enhances the overall taste. You can also experiment with other garnishes such as lemon or cucumber for variations on the classic G&T.
Remember, these mixing techniques are guidelines for crafting a delicious Gin and Tonic. Feel free to experiment and find the perfect balance that suits your taste.
A gin and tonic is a classic cocktail that is easy to prepare, often enjoyed in a social setting or a warm-weather environment. When it comes to serving a gin and tonic, the selection of glassware, garnishes, and the proportion of ingredients can help elevate the drink to a whole new level.
The traditional glass for a gin and tonic is a highball, but alternatives like a large wine goblet called a 'copa' or Gigoyne tumblers can also be used. The importance lies in allowing sufficient space for ice, gin, tonic, and garnish.
Speaking of garnish, the most common choice for a gin and tonic is a fresh lime or lemon wheel. However, you can get creative with your garnishes, as other options like cucumber slices, sprigs of fresh herbs like mint or rosemary, or even a combination of citrus peels can add a unique twist to the drink.
When it comes to the gin and tonic ratio, personal preferences can vary. A good starting point is a 2 ounces of gin to 6 ounces of tonic water ratio. The key element in a gin and tonic is the carbonation, so make sure to use freshly opened tonic water to maintain the fizz.
To serve your gin and tonic, simply fill your glass with ice cubes, then add the gin followed by the tonic water. Stir gently to integrate the ingredients without dissipating the carbonation. Finally, add your chosen garnish and voilà, you've prepared a refreshing and perfectly balanced gin and tonic.
Remember, the quality of ingredients in your gin and tonic play a significant role in determining the final flavor of your drink. So always use top-notch gin and tonic water to ensure the best outcome. Experiment, have fun, and enjoy responsibly!
Gin and tonic is a classic cocktail often enjoyed for its simplicity and refreshing taste. However, there are a few variations that can add a unique twist to the traditional drink, keeping it exciting and appealing.
One popular variation is the Pink Gin and Tonic, which uses pink gin instead of regular gin. Pink gin has a slightly more floral flavor than regular gin, with prominent juniper notes. This choice creates a drink that maintains the essence of a classic gin and tonic, while offering a different taste experience.
Another variation is the Spring Gintonica, made with Monkey 47 Gin from the Black Forest in Germany. This gin's blend of 47 botanicals and a 47% ABV gives it a unique flavor profile, combining woody, earthy, and grassy notes, alongside a touch of fruitiness from lingonberries.
A more unconventional take on the gin and tonic is the Barrel-Aged Gin Twist. This version leans more towards bitterness with the use of barrel-aged gin as a base. It is then mixed with sweet vermouth and Fernet-Branca, an herbaceous and menthol-driven liqueur, before being topped off with tonic water.
Other interesting variations include changes to the recipe like:
These common variations exhibit that the classic gin and tonic cocktail can be easily personalized and modified, offering numerous possibilities for those looking to explore new flavors while staying true to the fundamentals of this timeless favorite.
A well-garnished gin and tonic can elevate the drinking experience by enhancing the flavors and aromas of the cocktail. To garnish your gin and tonic effectively, it is essential to consider the gin's specific botanicals or ingredients that complement its flavor profile.
Some popular garnish options for gin and tonic include:
When garnishing your gin and tonic, it's crucial to maintain a balance between the gin, tonic, and garnish flavors. Start with the traditional 1 part gin to 3 parts dry tonic ratio and adjust based on personal preference. Fill your glass with ice, add the gin, followed by the tonic, and then gently stir. Finally, add the chosen garnish to complete your perfect gin and tonic cocktail. Remember, experimenting with various combinations of gins and garnishes could lead to surprising and delightful results.
One way to elevate your gin and tonic experience is by selecting the right glassware. Specially designed glasses, like a large wine goblet called a copa, can enhance the aromas and flavors of your drink, as the bowl curves all the flavors up to your nose. Traditionally, a highball glass is used for gin and tonics, but you can experiment to find the glass that suits your preference.
It is essential to maintain the carbonation in your gin and tonic to achieve a crisp, fizzy sensation. Ensure you use fresh tonic water, and pour it gently into the glass to preserve as many bubbles as possible. Carbonation is known to be the most important characteristic of a good G&T, even more than the gin and tonic itself.
To further enhance the flavors, you can experiment with different garnishes. Citrus fruits like lemon or lime go well with a classic gin and tonic, but you can also try orange, grapefruit, or even cucumber slices. Fresh herbs like mint, rosemary, or basil can add a unique twist, providing an aromatic component that complements the botanicals in the gin.
Additionally, don't be afraid to try different versions of gin and tonic. Explore various gins and find one that speaks to your taste buds. You can even upgrade your tonic choice—artisanal or premium tonic waters can elevate your G&T experience by providing different levels of bitterness, sweetness, or other unique flavor profiles.
In conclusion, remember that quinine in the tonic water binds to the flavor molecules of juniper in gin, enhancing the overall taste sensation. By following the tips above, you can truly elevate your gin and tonic experience and enjoy this classic cocktail in all its glory.

The ideal ratio for a gin and tonic is usually 1:2 or 1:3, which means one part gin to two or three parts tonic water. However, the ratios can vary based on personal taste. It's best to start with these ratios and adjust accordingly to your preference.
A classic garnish for a gin and tonic is a lime or lemon wedge. However, some prefer more aromatic garnishes like cucumber slices, fresh herbs (such as basil or mint), or citrus peels (orange or grapefruit). Feel free to experiment with garnishes to enhance the flavor profile of your gin and tonic.
Variations of the classic gin and tonic recipe can include adding fruit purees, flavored syrups, or other mixers to complement the gin. Some popular variations are the Elderflower Gin and Tonic, Cucumber and Mint Gin and Tonic, and Spiced Gin and Tonic with ginger and cinnamon. Don't hesitate to get creative by incorporating different flavors that complement the gin's botanicals.
The calorie count of a gin and tonic depends on the quantities and specific brands of gin and tonic used. Generally, a standard gin and tonic made with a 1.5-ounce serving of gin and 4.5 ounces of tonic water contains around 150 to 180 calories.
There are many suitable gin brands for a gin and tonic, but some popular choices include London dry gins such as Beefeater, Plymouth, or Bombay. These gins provide a balance of straightforward flavors and aromatic qualities. Your choice of gin will ultimately depend on your taste preference, so experimenting with different brands to find your favorite is recommended.
When making a gin and tonic, it's best to pour the gin first, then top it up with cold tonic water. Adding the tonic water last helps to mix the ingredients without the need for stirring, preserving the carbonation and preventing the drink from becoming flat.
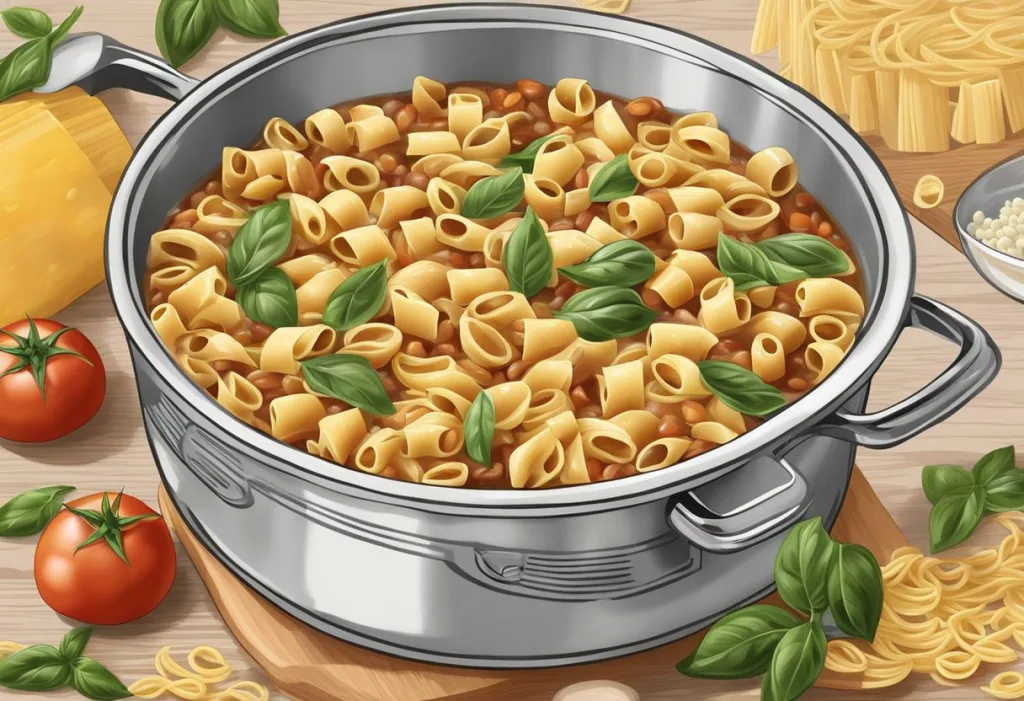
Pasta Fagioli, also known as pasta e fagioli, is a traditional and delicious Italian soup that has been enjoyed for centuries. This dish combines pasta and beans to create a hearty and satisfying meal, perfect for family dinners or a cozy night in. With its rich flavors and simple ingredients, pasta fagioli has become a popular choice for both novice and experienced cooks.
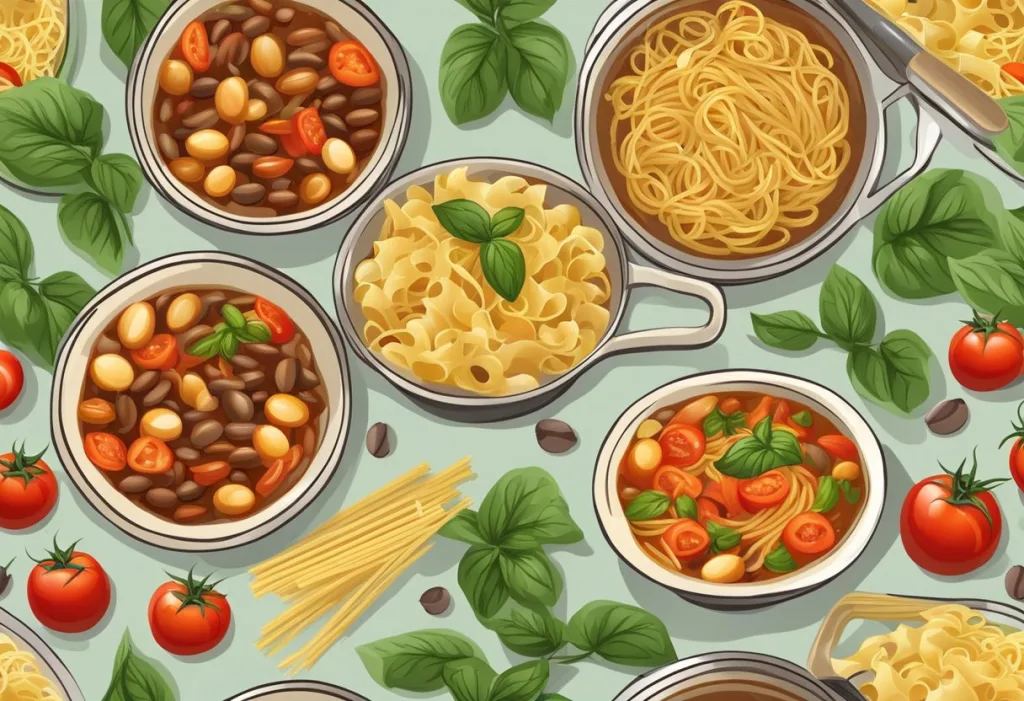
The recipe for pasta fagioli is quite versatile, allowing for a variety of beans, vegetables, and pasta types to be used based on personal preferences and dietary needs. A typical pasta fagioli recipe includes ingredients like cannellini beans, carrots, celery, onions, garlic, tomato sauce, and ditalini pasta. The preparation and cooking process for this dish is relatively easy, making it an excellent option for a weeknight meal or a larger gathering.
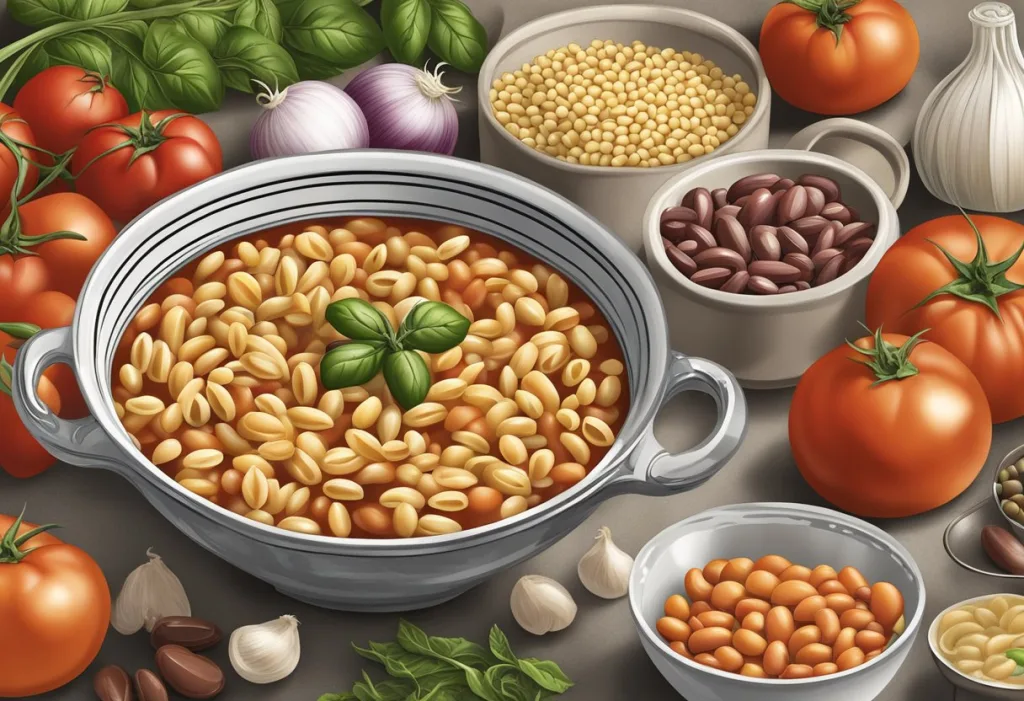
In this Pasta Fagioli recipe, the following ingredients are used:
Below is a summary of the primary ingredients for a Pasta Fagioli recipe:
| Ingredient | Amount |
|---|---|
| Olive oil | 2 tablespoons |
| Onion | 1, chopped |
| Carrots | 2, chopped |
| Celery | 2 stalks, chopped |
| Garlic | 2 cloves, minced |
| Parsley | 1/4 cup, chopped |
| Basil | 1/4 teaspoon |
| Italian seasoning | 1/2 teaspoon |
| Red pepper flakes | 1/2 teaspoon (optional) |
| Tomato sauce | 1 cup |
| Diced tomatoes | 1 (14.5-ounce) can |
| Beans | 1 (15-ounce) can, rinsed and drained |
| Chicken or vegetable broth | 4 cups |
| Ditalini pasta | 1 cup, uncooked |
Feel free to adjust ingredient amounts or customize with additional herbs and spices to suit your personal taste preferences.
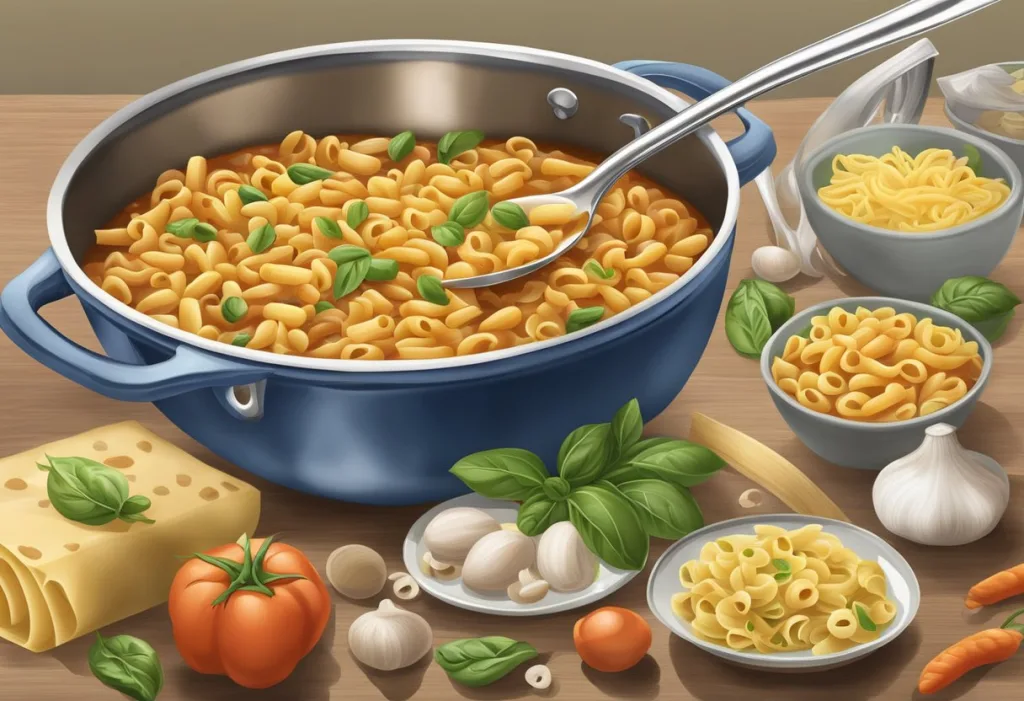
Pasta Fagioli is a delicious, comforting Italian soup that combines pasta and beans. Preparing this dish is relatively quick and easy, making it a great option for a weeknight meal. Many recipes streamline the cooking process, with most recipes having a total preparation time averaging between 45 minutes to 1 hour.
The first step in preparing Pasta Fagioli typically involves browning a protein source, such as ground beef or sausage. This step can be omitted for a vegetarian version. Meanwhile, in another pot or Dutch oven, heat some olive oil and sauté aromatic vegetables like garlic, onions, celery, and carrots until tender.
Next, add tomato sauce, canned tomatoes, and the browned protein (if using) to the pot with the sautéed vegetables. Stir to combine and add the beans of your choice (cannellini, navy, or great northern beans). Pour in chicken or vegetable stock to create the soup base.
Depending on the recipe, some variations introduce leafy greens, such as kale, by cooking them in boiling water for a few minutes before adding them to the soup. This adds a nutritional boost and depth of flavor.
Finally, cook the pasta separately according to package directions, preferably using a small, tubular pasta like Ditalini or elbow macaroni. Once the pasta is cooked, drain it and portion it among serving bowls, ladling the soup over the top to serve. This prevents the pasta from becoming too soft and ensures the perfect texture with each spoonful.
In summary, Pasta Fagioli is a versatile and flavorful soup that can be prepared in under an hour. A combination of pasta, beans, vegetables, and a savory broth, it is a delightful dish suitable for any occasion.
When preparing and cooking Pasta Fagioli, it's essential to have the right equipment on hand. This not only ensures you follow the recipe correctly but also makes the process more enjoyable and efficient. Below are the necessary tools divided into two sub-sections: preparation and cooking.
To prepare the ingredients for Pasta Fagioli, gather the following tools:
Once you've prepared the ingredients, you'll need the following equipment for cooking Pasta Fagioli:
By having the appropriate equipment ready, you'll be well-prepared to create a delicious Pasta Fagioli dish with ease and confidence.
To make a delicious Pasta Fagioli, follow these simple steps:
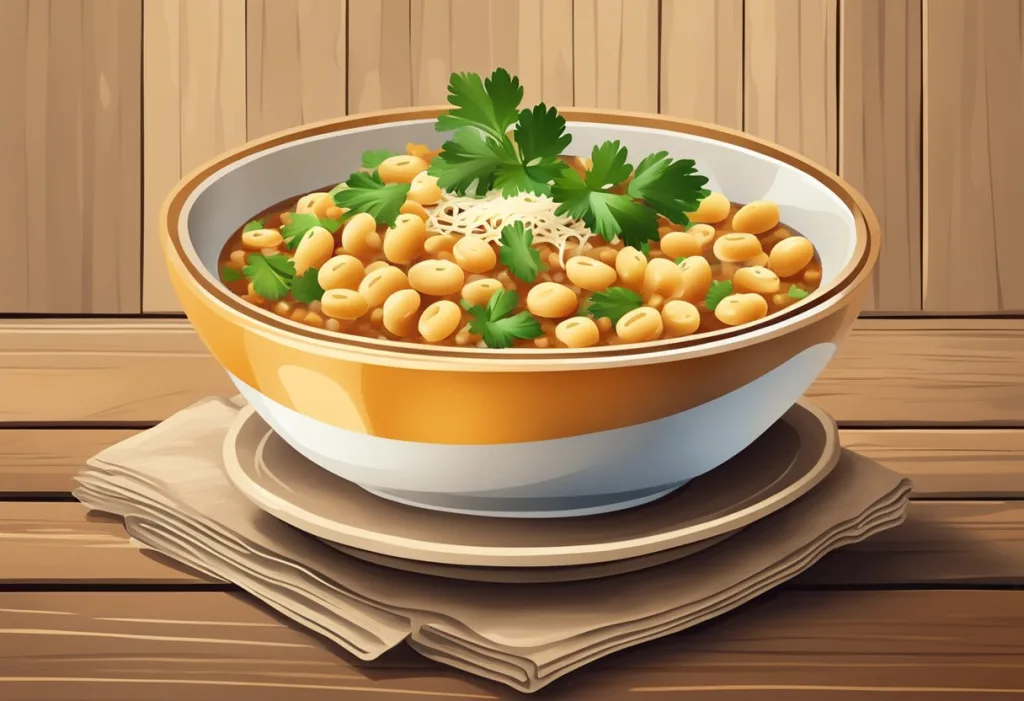
Pasta Fagioli is a dish that combines pasta and beans to create a hearty and delicious Italian soup. When serving this dish, there are several elements you can consider to elevate the meal experience and make it more enjoyable for your guests.
Start by providing diners with crusty bread or soft dinner rolls for dipping in the soup. This will help bring out the flavors and create a more filling meal. Stanley Tucci's Pasta Fagioli Recipe Features a Genius Shortcut states that pairing soft dinner rolls with this soup can lead to a satisfied meal.
When it comes to garnishing the soup, a sprinkling of freshly grated Parmesan cheese can add a great layer of flavor and texture. You can also try adding a drizzle of quality extra-virgin olive oil, as mentioned in the Pasta e Fagioli Recipe - Love and Lemons. This addition will serve to enhance the dish's richness.
Incorporating some greens can bring a pop of color and a boost of nutrients to the dish. As explained in Insanely Good, you can add kale or other leafy greens, such as spinach or Swiss chard, to your Pasta Fagioli. Just be sure to cook the greens until tender before incorporating them into the soup.
Finally, don't underestimate the importance of presentation. Serve the soup in warm, shallow bowls to emphasize its rustic charm and make it easy for guests to enjoy. This will ensure that your Pasta Fagioli not only tastes great but looks appetizing as well.
When cooking for a meat-free crowd, consider the Vegetarian Pasta Fagioli. This variation replaces the ground beef with more vegetables, such as zucchinis or spinach. Begin by sautéing garlic, onions, celery, and carrots until they become tender. Then, mix the vegetables with your choice of tomato sauce and canned tomatoes. Incorporate beans, pasta, and vegetable broth, and let the soup simmer until it reaches the desired consistency.
Easily adapted for a vegan diet, this Vegan Pasta Fagioli omits any animal-based products. Instead, opt for vegetable oil in place of butter, and vegetable broth instead of chicken stock. Be sure to use a vegan-friendly pasta, as some pasta may contain egg. Another option for a protein source is to include chickpeas or other legumes. Season the dish with fresh herbs, such as basil or parsley, to add a pop of delicious flavor.
For a Gluten-Free Pasta Fagioli, substitute traditional pasta with a gluten-free variety made from rice, corn, or quinoa. To guarantee the dish is truly gluten-free, verify that the canned beans, vegetable broth, and other ingredients do not contain any hidden sources of gluten. Pay close attention to labels and stick to reputable brands known for gluten-free products. To enhance the dish's flavor, don't hesitate to use fresh aromatics, such as garlic and onions, as well as your favorite gluten-free seasonings.

Pasta Fagioli is a hearty Italian soup made with a combination of pasta, beans, vegetables, and various herbs. This dish is not only delicious but also offers various nutritional benefits.
Calories and Macronutrients:
The calorie content in a serving of Pasta Fagioli can vary depending on the ingredients used. However, a general breakdown of the calories from various ingredients is as follows:
Considering macronutrients, the dish mainly contains carbohydrates from the beans and pasta, healthy fats from olive oil, and protein from the beans.
Vitamins and Minerals:
Pasta Fagioli also contains essential vitamins and minerals such as:
Fiber:
The beans and vegetables in Pasta Fagioli provide a good amount of dietary fiber, promoting healthy digestion and potentially lowering the risk of heart disease.
In summary, Pasta Fagioli is not only satisfying but also offers numerous nutritional benefits. The dish features a balanced combination of carbohydrates, protein, and healthy fats, while providing essential vitamins, minerals, and fiber.
When it comes to storing and reheating Pasta Fagioli, following the right steps will ensure its deliciousness is preserved. Store any leftovers in an airtight container and keep it in the refrigerator for up to 7 days.
To reheat the Pasta Fagioli, you have two easy options:
When serving, you can add a drizzle of olive oil or a sprinkle of grated Parmesan cheese to enhance the flavors. By following these storage and reheating tips, you can continue to enjoy the deliciousness of Pasta Fagioli even after it has been cooked and stored.
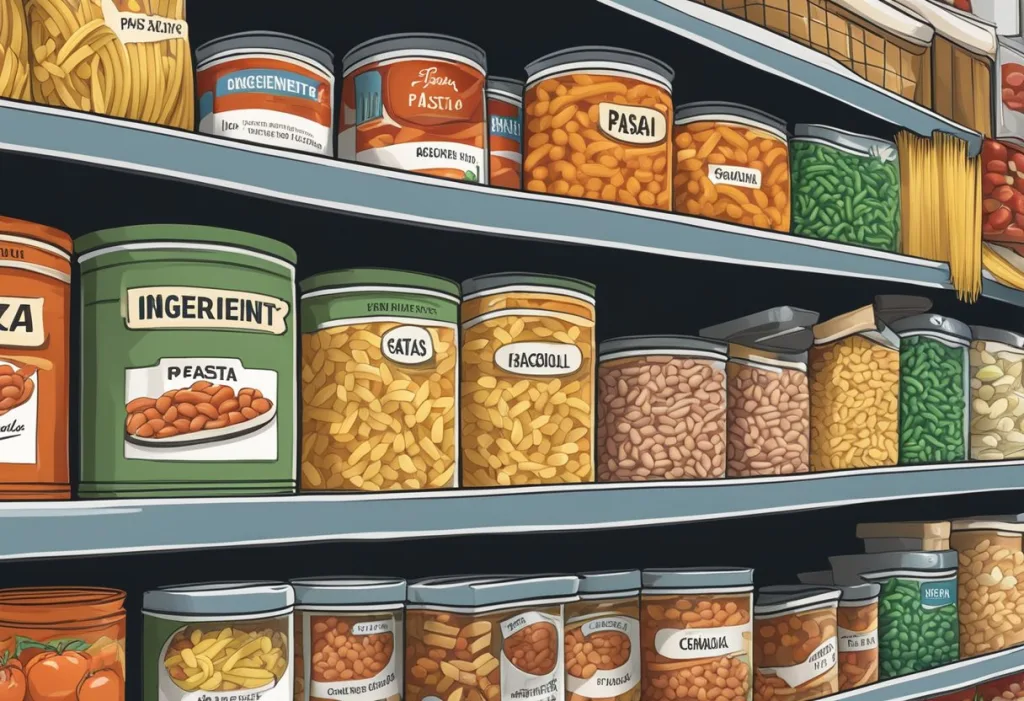
When preparing to make Pasta Fagioli, it's important to know where to purchase the best quality ingredients. Most of the ingredients for this delicious Italian dish can be easily found at local supermarkets or grocery stores. Some key ingredients to look for include:
When looking for authentic Italian ingredients, consider checking out Italian specialty stores, as they often carry high-quality products that may not be available at your typical supermarket. Items to keep an eye out for include:
Remember to pay close attention to product labels and choose the freshest available ingredients to ensure the best flavor in your Pasta Fagioli. Happy cooking!
Minestrone is a vegetable-based soup that often includes pasta or rice, while pasta fagioli is a pasta and bean dish with a focus on these two main ingredients. Minestrone tends to have a thinner broth and can include a wider variety of vegetables, whereas pasta fagioli has a heartier texture due to the beans.
Yes, you can substitute a different bean for fagioli beans. Popular alternatives include cannellini beans, Great Northern beans, or navy beans. Choose based on your preference and desired consistency, as some beans are softer and creamier, while others maintain their shape better during cooking.
While traditional pasta fagioli is a meatless dish, modern adaptations may include meat, such as ground beef, Italian sausage, or bacon. Feel free to customize your recipe to suit your taste preferences or dietary needs.
Small pasta shapes, such as ditalini, elbow macaroni, or orzo, work well in pasta fagioli. These shapes complement the size and texture of the beans and help create a well-balanced dish.
Certainly! To add some heat to your pasta fagioli, feel free to include red pepper flakes, hot paprika, or a pinch of cayenne pepper. Adjust the spice level according to your preference, but remember that a little can go a long way.
Pancetta, an Italian-style bacon, can be used to add a rich, smoky flavor to pasta fagioli. To incorporate it into your recipe, dice and cook the pancetta until crispy, then add it to your pot with the other ingredients. This addition can create a satisfying depth of flavor, elevating the dish's overall taste profile.
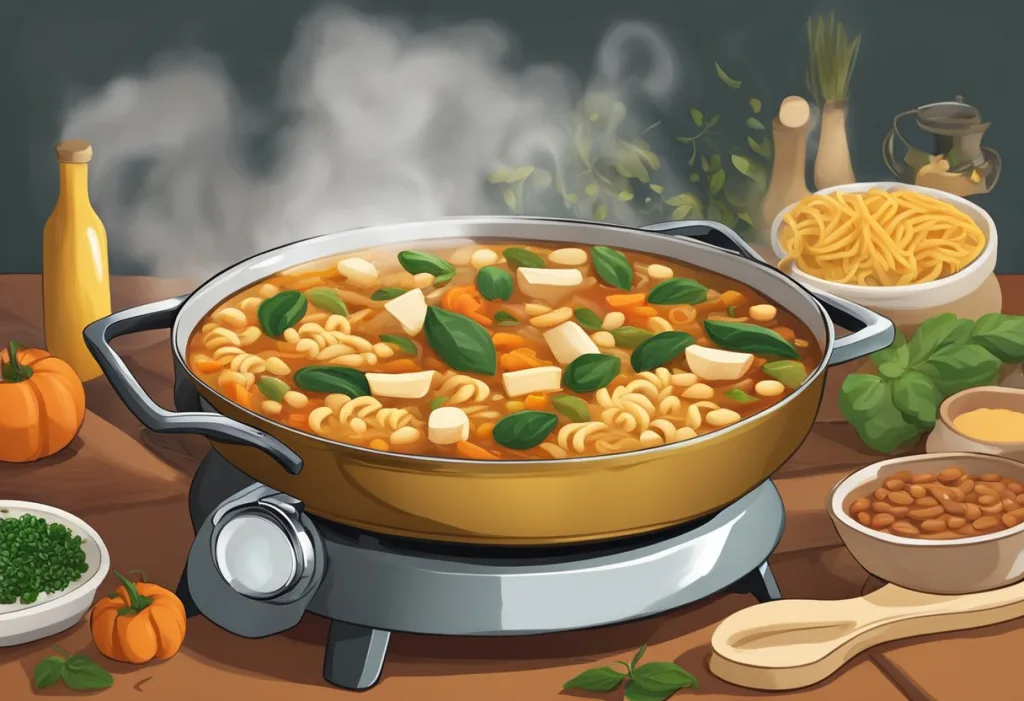
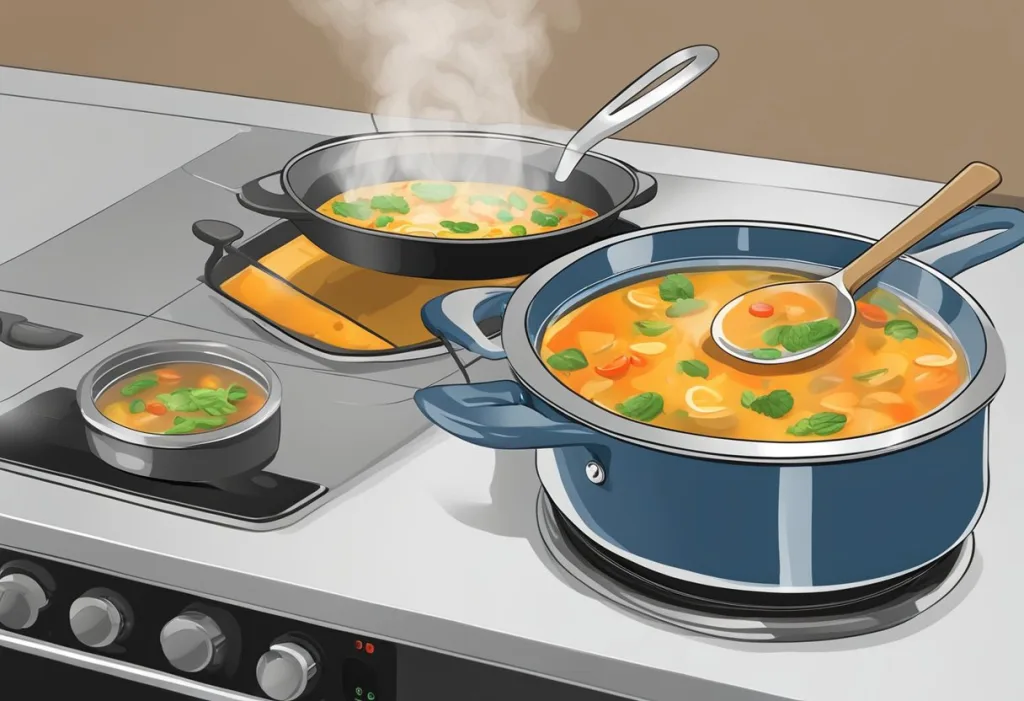
As the autumn season approaches, there's nothing more comforting and satisfying than a warm bowl of Italian soup. These hearty, flavourful soups, drawing from the rich culinary traditions of Italy, often include an array of seasonal vegetables, tender meats, and rich broths. The vibrant flavours and colours of Italian soups are not only delicious but make an ideal meal for the cooler, crisp days of fall.

One of the key aspects of Italian soups is their dedication to using fresh, high-quality ingredients, often straight from the local markets or the farmer's doorsteps. This emphasis on locally sourced produce brings out the natural flavors and textures of the soups, thereby elevating them to a whole new level of gastronomic experience. Combining these fresh ingredients with classic Italian techniques creates a variety of soups that cater to different palates, making them the perfect addition to your autumn menu.
To fully appreciate and enjoy Italian soups this fall, it's important to understand the art of soup-making, from selecting the right ingredients to employing essential kitchen equipment and techniques. Moreover, knowing which soups to pair with other dishes, and how to store and reheat leftovers will ensure an impeccable dining experience in the true spirit of Italian cuisine.
Italian soups are known for their rich flavors, hearty ingredients, and the use of seasonal vegetables that vary from region to region. These soups often incorporate simple and fresh ingredients that create a balance of taste and texture. The essence of an Italian soup lies in the combination of these elements and their ability to evoke a feeling of warmth and comfort.
One of the key ingredients in Italian soups is the use of stock or broth. This base can be made from vegetables, chicken, beef, or even fish. The type of broth used depends on the preference, regional style, and the ingredients available. The broth can be enhanced with herbs, spices, and the quintessential Italian flavorings of garlic and olive oil.
In addition to the broth, Italian soups commonly feature legumes, such as beans and lentils, and pastas. These ingredients add a hearty and satisfying component to the dish, while also providing a source of protein and carbohydrates. Different regions have their own pasta shapes and legume varieties, making each Italian soup unique and reflective of the local culture.
Seasonal vegetables are another important aspect of Italian soups. As the seasons change, so do the types of vegetables available and the flavors of the soup. For example, autumn soups may feature squash, pumpkin, and hearty greens like kale or Swiss chard. The ability to adapt the soup to the seasonal ingredients is a hallmark of Italian cuisine, showcasing the connection to local ingredients and the land.
Lastly, Italian soups are often garnished with fresh herbs such as basil, parsley, or oregano. These herbs add a burst of flavor, enhancing the overall character of the soup. A light sprinkle of grated Parmesan cheese is another typical garnish, elevating the taste and giving it a refined touch.
In summary, Italian soups offer a comforting and satisfying dining experience that highlights the fresh, diverse, and regional ingredients of Italy. With their rich broths, seasonal vegetables, hearty legumes and pasta, and classic Italian flavorings, these soups truly embody the spirit of Italian cuisine.

Autumn is the season when the weather starts to get colder, and people look for warm and comforting dishes to enjoy. Italian soup recipes are ideal for these cooler months because they are often full of hearty ingredients, rich in nutrients, and offer a delicious taste to satisfy the appetite.
One reason to choose Italian soup recipes for autumn is the incorporation of seasonal vegetables such as pumpkins, chestnuts, and carrots. These vegetables not only bring bright colors to the table but also provide a variety of health benefits, including vitamins and minerals. Utilizing seasonal produce ensures maximum flavor and freshness, creating a satisfying and nutritious soup experience.
Another appealing aspect of Italian soups for autumn is the use of traditional cooking techniques, such as slow-cooking and simmering. These methods bring out the flavors of the ingredients, resulting in a depth and complexity that elevate the taste of the soup. For example, a classic Italian Minestrone is cooked over low heat for several hours, allowing all the flavors to meld together and enhancing the overall experience.
Italian soups also provide versatility in terms of ingredients and flavors, catering to different preferences and dietary needs. From lighter options like vegetable-based soups to those packed with protein-rich ingredients such as meatballs or chicken, there is an Italian soup to please every palate. Additionally, many Italian soups can be easily adapted to suit vegetarian or gluten-free preferences, making them an inclusive choice for diverse gatherings.
In summary, Italian soup recipes are an excellent choice for autumn because they showcase seasonal ingredients, boast rich flavors due to traditional cooking techniques, and offer versatility to cater to various dietary needs and preferences. Enjoying a bowl of comforting Italian soup is not only a way to ward off the autumn chill but also an opportunity to appreciate the culinary heritage and wholesome ingredients of Italian cuisine.
Incorporating farm to table ingredients not only ensures better flavor and freshness, but also supports local farmers. Visit local farmers markets and choose ingredients that have been grown or produced close to home. This will guarantee the best quality and taste for your Italian soup recipes.
Choosing seasonal vegetables and fruits is essential for a perfect autumn soup. This ensures that the ingredients are fresh, have full flavor, and contain the maximum nutrition. Some autumn vegetables and fruits to consider for Italian soups include:
Remember, using fresh seasonal ingredients will result in a more authentic and delicious soup experience.
Selecting the right meat and seafood is important for adding depth and flavor to your Italian soups. Opt for lean cuts of meat, such as chicken or turkey, that cook well in soups. Sausages are also frequently used in traditional Italian soup recipes. When it comes to seafood, try to pick fresh fish, shrimp, or clams. Quality meats and seafood will contribute to a richer and more satisfying soup.
Incorporating the right herbs and spices will enhance and complement the flavors of your Italian soup. Classic Italian herbs include basil, oregano, rosemary, and thyme. Don't be afraid to experiment with other herbs and spices, as they can add depth and complexity to your dish. Keep in mind that using fresh herbs whenever possible will further elevate your soup's flavor profile and authenticity.

When making Italian soups for autumn, it's important to have the right kitchen equipment on hand. A few essential tools can make the process much smoother and more enjoyable.
Firstly, a large, heavy-bottomed pot or Dutch oven is crucial for even heat distribution and maintaining consistent cooking temperature. This allows the soup ingredients to cook evenly and for the flavors to meld together perfectly.
In addition, a quality chef's knife and cutting board are necessary for efficient vegetable and ingredient preparation. Soup recipes often call for multiple ingredients to be chopped or sliced, so a sharp, sturdy knife can make a significant difference in the preparation time.
A wooden spoon or silicone spatula is handy for stirring the soup while it simmers, preventing it from sticking to the bottom of the pot and ensuring that the flavors are well-incorporated.
For serving Italian soups, a ladle can be an invaluable tool. It allows you to easily scoop out servings of soup into bowls, ensuring that the dish is enjoyed to its fullest.
Lastly, having a good set of mixing bowls, measuring cups, and spoons will make the process of combining ingredients and measuring portion sizes much more straightforward.
In summary, having the right kitchen equipment on hand can greatly enhance the experience of preparing and enjoying Italian soups for autumn. Acquiring a quality pot, knife, cutting board, stirring utensils, ladle, and measuring tools will make the process more efficient and enjoyable, resulting in a delicious and comforting meal.
Crafting the perfect Italian soup for autumn is an art that combines carefully selected ingredients, techniques, and layers of flavors. By focusing on these aspects, one creates a delicious and soul-warming meal to enjoy during the cooler months.
The foundation of any great soup is a rich, flavorful stock. Choose one that complements the ingredients in the recipe, such as chicken, vegetable, or beef stock. Homemade stock is ideal; if store-bought, opt for a high-quality, low-sodium variety. To enhance the flavor, consider adding:
Implementing proper cooking techniques makes a world of difference in the texture and taste of your soup. Keep these tips in mind:
Delicious Italian soups benefit from thoughtfully added layers of flavors. Here are some suggestions:
By considering these aspects of soup making, you'll be well on your way to creating a comforting and delectable Italian soup perfect for autumn evenings.
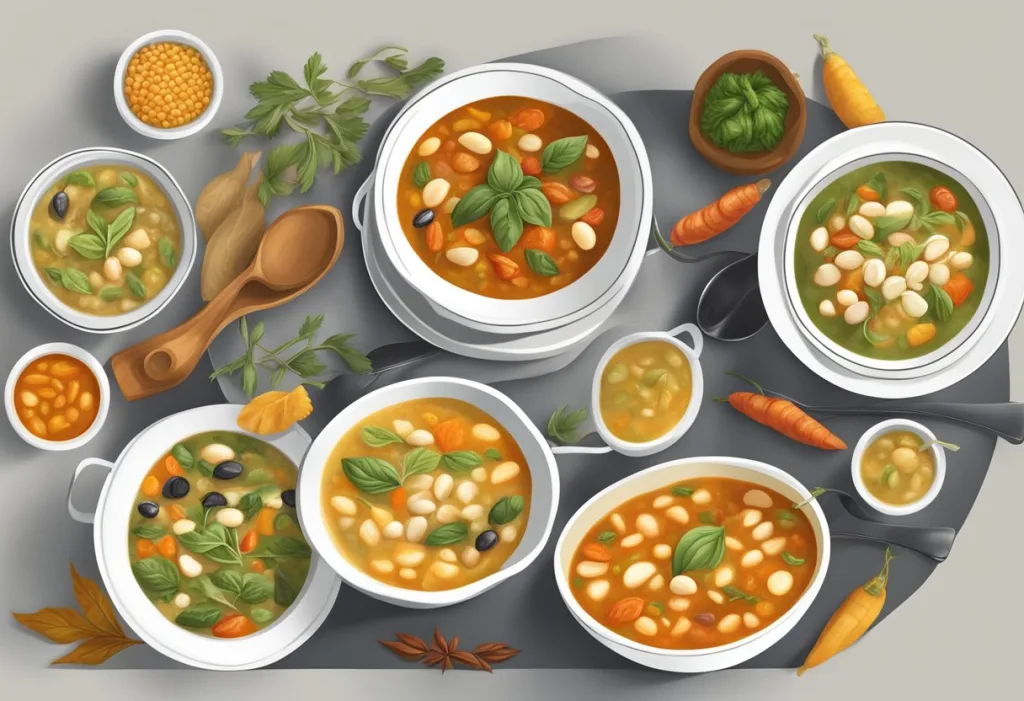
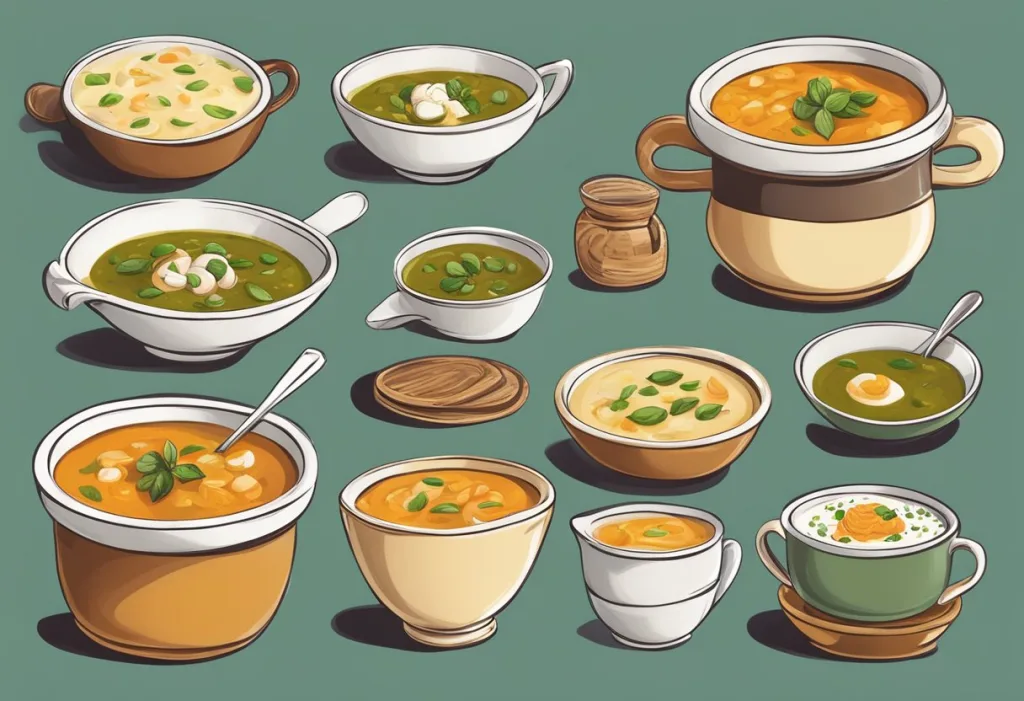
Minestrone is a classic Italian soup perfect for the autumn season. It is a vegetable-based soup usually made with tomatoes, onions, carrots, celery, and beans. Adding in seasonal vegetables, such as zucchini and kale, provides a hearty and nutritious meal. The soup is traditionally garnished with grated Parmesan cheese and can be served with crusty bread. Minestrone also offers versatility with added pasta or rice, allowing you to customize it to your preference.
Pasta Fagioli, or pasta and beans, is a comforting Italian soup made from beans, pasta, and vegetables like onions, carrots, and celery. This delicious and filling soup is seasoned with garlic, rosemary, and a hint of red pepper flakes. It can be made with various types of pasta, typically small shapes like ditalini, orzo, or tubetti. Served with a sprinkle of Parmesan cheese, Pasta Fagioli is perfect for a cozy autumn dinner.
Stracciatella is a simple yet elegant Italian egg drop soup. It starts with a flavorful chicken or vegetable broth, enriched with whisked eggs and grated Parmesan cheese. Finely chopped spinach or Swiss chard adds a touch of color and nutritional value. This light and soothing soup is quick to make, perfect for a chilly autumn day when you crave something warm and comforting.
Ribollita, meaning "reboiled" in Italian, is a Tuscan soup loaded with vegetables, beans, and bread. It primarily consists of cannellini beans, kale, and cabbage, cooked together with tomatoes, onions, and carrots. Day-old bread is added to the soup to thicken it, creating a flavorful and satisfying meal. Ribollita is perfect for utilizing leftovers and making the most out of seasonal vegetables during the fall season.
Zuppa Toscana, meaning "Tuscan soup" in Italian, is a creamy and hearty soup originating from Tuscany. The main ingredients include Italian sausage, russet potatoes, and kale, cooked in a rich and velvety broth of chicken stock and heavy cream. Zuppa Toscana is often seasoned with garlic and red pepper flakes, adding a delicious kick to the soup. It is a filling and warming treat, ideal for savoring on a crisp autumn evening.
When enjoying a delicious Italian soup during the autumn season, pairing it with the perfect bread can elevate the whole dining experience. Here are some popular bread options to consider:
Selecting the right wine is crucial as it can enhance the flavors and aromas of your Italian soup. Here are some wine suggestions for different types of soups:
Remember to always consider the specific ingredients and flavors of your autumn Italian soup when choosing the perfect bread and wine pairing.
When it comes to enjoying Italian soup recipes, knowing how to properly store and reheat them is essential. This ensures that the flavors and textures are preserved, and the soup remains safe to consume.
Storing Italian soups: After the soup has cooled down to room temperature, place it in an airtight container or resealable plastic bag. You can store it in the refrigerator for up to four days or freeze it for longer storage duration. If freezing, be sure to leave some room for expansion in the container or bag. For easier portioning, consider freezing the soup in separate, smaller containers.
Reheating Italian soups: To reheat soup, it is best to first thaw it in the fridge overnight if it was frozen. Then, transfer the soup into a saucepan and gently heat it on medium-low until it reaches the desired temperature. Stir it occasionally to maintain even heating and prevent the soup from sticking to the pan. For soups containing pasta or other starches, you may need to add a bit of water or broth to maintain the desired consistency, as these ingredients can absorb liquid during storage.
Some additional pointers to keep in mind when handling Italian soups:
Autumn is the perfect season to indulge in warm, comforting Italian soups. These recipes showcase the hearty flavors and seasonal ingredients that make Italian cuisine so beloved. One of the classic Italian soup recipes perfect for fall is Chicken & Spinach Tortellini Soup, which features shredded rotisserie chicken, green spinach, and cheesy tortellini. This easy-to-make soup can serve as a starter, a light meal, or paired with a salad and crusty bread for added satisfaction.
Hearty Italian Chicken and Autumn Veggie Soup is another ideal choice for those craving a warm, nutritious meal during the colder months. This flavorful dish incorporates a variety of seasonal vegetables such as butternut squash, carrots, and kale, along with tender split chicken breasts. Roasting the chicken and vegetables in the oven before adding them to the soup not only enhances their taste but also gives the dish a sense of homestyle comfort.
Fall Minestrone Soup with Italian Sausage and Butternut Squash is an excellent option for those who enjoy a touch of spice in their meals. The heartiness of the Italian sausage, combined with the natural sweetness of butternut squash, creates a deliciously balanced flavor profile. Ditalini pasta, a small, tube-shaped pasta, adds texture, while the addition of various seasonal vegetables ensures a nutrient-rich meal.
Remember that Italian soups are adaptable - feel free to adjust seasonings, substitute ingredients, or add your favorite vegetables to accommodate personal preferences or dietary restrictions. A well-prepared Italian soup can fill your home with warmth and provide a satisfying, comforting meal during the autumn season.
In autumn, some popular Italian soups include Minestrone, Pasta e Fagioli, Italian Chicken and Autumn Veggie Soup, and Ribollita. These soups feature hearty vegetables, beans, and pasta, making them perfect for the colder weather.
To prepare a hearty Minestrone, start by sautéing onions, carrots, and celery in olive oil. Add seasonal vegetables like zucchini, potatoes, and kale, followed by canned tomatoes, vegetable or chicken broth, and a mix of beans such as cannellini, borlotti, or kidney beans. Season with salt, pepper, and a bay leaf. Simmer the soup until the vegetables are tender, and then add small pasta like ditalini or small shells. Cook until the pasta is al dente, and finish with grated Parmesan cheese and fresh basil.
A fall-inspired Italian sausage soup can include ingredients such as Italian sausage, cannellini beans, kale, butternut squash, and diced tomatoes. Start by browning the sausage in a large pot and then sautéing onions, carrots, and celery. Add garlic, followed by diced tomatoes, broth, and cubed butternut squash. Simmer until the squash is tender, and finally, stir in the beans and chopped kale.
A good Italian bean soup recipe for autumn is Pasta e Fagioli. Start by sautéing onions, carrots, and celery in olive oil. Add canned tomatoes, chicken or vegetable broth, and cannellini or borlotti beans. Season with salt, pepper, and a bay leaf. Simmer the soup, and then add small pasta like ditalini or small shells. Cook until the pasta is al dente, and finish with grated Parmesan cheese and fresh basil.
