Mango Sticky Rice is a beloved Thai dessert that combines the sweetness of ripe mangoes with the unique texture of sticky rice, all topped off with a creamy coconut sauce. This dish is not only visually appealing but also incredibly flavourful. It's surprisingly easy to prepare, making it a great choice for a tropical dessert at home, whether for a special occasion or a delightful treat after a weekday meal. Mango Sticky Rice can be made in advance, allowing you to enjoy the flavours at their peak without rushing.
This was long one of my favourite dessert and the simplicity of textures makes it worth a try. Remember to take a look at other recipes from our Yumoid community for more tasty experiences!
Ingredients for Mango Sticky Rice
1 cup Thai sticky rice (also known as glutinous rice)
1 1/4 cups water
1 ripe mango, peeled and sliced
1 cup canned coconut milk
1/4 cup sugar
1/2 teaspoon salt
1 tablespoon toasted sesame seeds or mung beans for garnish (optional)
Fresh mint leaves for garnish (optional)
How to make Mango Sticky Rice step-by-step
Prepare the rice: Rinse the sticky rice in cold water until the water runs clear. Combine the rice and 1 1/4 cups of water in a pot and let it soak for at least 30 minutes, or up to 4 hours.
Cook the rice: Bring the rice to a boil, cover, reduce heat to low, and simmer for 15-20 minutes, or until the water is absorbed and the rice is tender. Remove from heat and let it sit, covered, for 10 minutes.
Make the coconut sauce: While the rice is cooking, combine the coconut milk, sugar, and salt in a small saucepan. Heat over medium heat, stirring until the sugar dissolves completely. Do not let it boil.
Mix rice and sauce: Spoon half of the warm coconut milk mixture over the cooked sticky rice. Stir gently to mix. Cover the rice and allow it to absorb the coconut milk for about 10 minutes.
Serve: Spoon the sticky rice onto serving dishes. Arrange the fresh mango slices over or beside the rice. Drizzle with the remaining coconut milk sauce.
Garnish: Sprinkle toasted sesame seeds or mung beans and a few mint leaves on top for added texture and freshness.
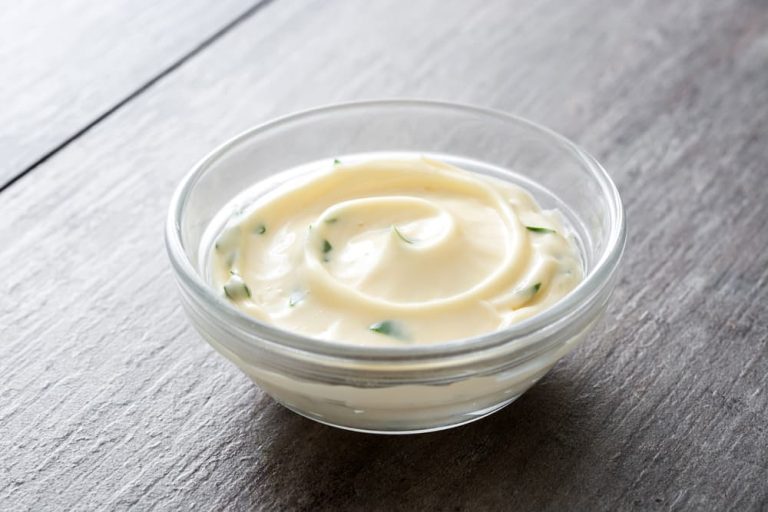
Russian Dressing is a spicy, tangy condiment that adds a zesty flair to any salad or sandwich, most famously used in the classic Reuben sandwich. Its creamy texture and distinctive flavor come from a blend of mayonnaise and chili sauce, accented with horseradish, paprika, and other spices. This dressing is incredibly easy to make at home, allowing you to adjust the flavours to your taste. It's perfect for a quick meal fix, elevating even the simplest dishes to something special.
This dressing recipe turned out to be a favourite with our Yumoid.com gang, so give it a try! As always - remember to share your results with us when you test out Yumoid recipes!
Ingredients for Russian Dressing
1 cup mayonnaise
1/4 cup chili sauce
2 tablespoons sour cream (optional, for extra creaminess)
1 tablespoon grated horseradish
1 teaspoon Worcestershire sauce
1/2 teaspoon paprika (sweet or smoked)
1 tablespoon minced onion
Salt and pepper to taste
A few dashes of hot sauce (optional, for extra heat)
How to make Russian Dressing step-by-step
Combine ingredients: In a medium bowl, whisk together the mayonnaise, chili sauce, and sour cream if using. This will create a creamy base for your dressing.
Add flavor enhancers: Mix in the grated horseradish, Worcestershire sauce, paprika, and minced onion. These ingredients add the classic spicy and tangy flavors that are characteristic of Russian Dressing.
Season: Add salt and pepper to taste, and consider a few dashes of hot sauce if you prefer a spicier dressing.
Mix well: Ensure all the ingredients are thoroughly combined for a smooth and even consistency.
Chill and serve: Refrigerate the dressing for at least an hour before serving to let the flavors meld together beautifully. This chilling period helps intensify the taste.
Enjoy: Use your homemade Russian Dressing on salads, sandwiches, or as a dipping sauce for fresh vegetables.
This homemade Russian Dressing is sure to be a hit, bringing a bit of zest and color to your meals!
Pappa al Pomodoro is a traditional Italian soup that's as comforting as it is delicious. Made with ripe tomatoes, stale bread, and fragrant basil, this dish is a perfect way to use up leftover bread while enjoying the fresh flavours of summer. It's a simple and hearty meal that can be prepared quickly, making it an excellent choice for a hectic weekday dinner or a cozy weekend lunch. Whether you're an experienced cook or just starting out, Pappa al Pomodoro is an easy and rewarding recipe to try at home.
Remember to explore the rest of our recipes for more tasty dinners!
8 ounces stale bread, crusts removed and cut into cubes
1 cup fresh basil leaves, torn into pieces
Salt and pepper to taste
Extra basil leaves and a drizzle of olive oil for garnish
How to make Pappa al Pomodoro step-by-step
Sauté the aromatics: In a large pot, heat the olive oil over medium heat. Add the chopped onion and minced garlic, and sauté until they become soft and translucent, about 5 minutes.
Add the tomatoes: Stir in the chopped tomatoes (or canned crushed tomatoes) and cook for another 5 minutes, allowing the flavors to meld together.
Simmer the soup: Pour in the vegetable broth and bring the mixture to a gentle boil. Reduce the heat to low and let it simmer for about 15 minutes.
Incorporate the bread: Add the cubed stale bread to the pot, stirring well to ensure it soaks up the liquid. Continue to simmer for another 10 minutes, until the bread breaks down and the soup thickens.
Season and finish: Stir in the torn basil leaves and season the soup with salt and pepper to taste. Let it cook for an additional 5 minutes to let the flavors blend.
Serve: Ladle the soup into bowls and garnish with extra basil leaves and a drizzle of olive oil. Enjoy your hearty and flavorful Pappa al Pomodoro!
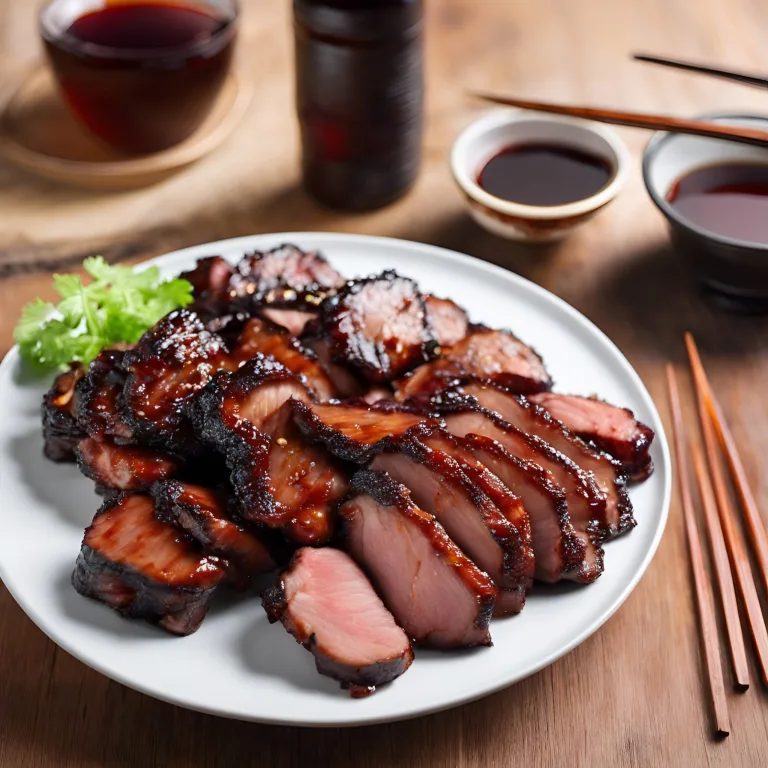
Char Siu, or Chinese BBQ Pork, is a classic Cantonese dish known for its shiny, red-glazed exterior and succulent, flavorful interior. This beloved dish involves marinating strips of pork in a sweet and savory sauce, then roasting them to perfection. The unique flavor of Char Siu comes from a combination of honey, five-spice powder, soy sauce, hoisin sauce, and sometimes red bean curd or red food coloring to achieve its signature color. Char Siu can be enjoyed on its own, served with rice or noodles, or used as a filling for baozi (steamed buns) and other dim sum dishes. Making Char Siu at home allows you to customize the flavors to your liking and creates a fun cooking project with delicious results.
Ingredients Required
Pork shoulder or loin: 2 lbs (about 900g), cut into long strips
Soy sauce: 2 tablespoons
Hoisin sauce: 2 tablespoons
Honey: 2 tablespoons
Chinese rice wine or dry sherry: 1 tablespoon
Oyster sauce: 1 tablespoon
Five-spice powder: 1 teaspoon
Garlic: 2 cloves, minced
Red food coloring or red bean curd (optional): for color
Sesame oil: 1 teaspoon
Recommended Kitchen Gear
Large mixing bowl or resealable plastic bag for marinating
Baking sheet or roasting pan
Wire rack (optional, for even cooking)
Aluminum foil (for easy cleanup)
Pastry brush (for glazing)
Meat thermometer (to ensure proper cooking)
Directions (How-to Make It)
Prepare the Marinade: In a large mixing bowl, combine soy sauce, hoisin sauce, honey, rice wine, oyster sauce, five-spice powder, minced garlic, and sesame oil. If using, add red food coloring or mashed red bean curd to achieve the desired color.
Marinate the Pork: Add the pork strips to the marinade, ensuring they are well coated. Cover and refrigerate for at least 4 hours, preferably overnight, to allow the flavors to penetrate the meat.
Preheat the Oven: Preheat your oven to 375°F (190°C). Line a baking sheet with aluminum foil and place a wire rack on top, if available.
Roast the Pork: Remove the pork from the marinade, reserving the excess marinade. Place the pork strips on the wire rack. Roast for 25-30 minutes, turning once halfway through and basting with the reserved marinade, until the pork is just cooked through and the exterior is caramelized.
Glaze and Finish: In the last few minutes of cooking, brush the pork with honey to create a glossy finish. The internal temperature of the pork should reach 145°F (63°C) when done.
Rest and Serve: Let the Char Siu rest for a few minutes before slicing. Serve warm with rice, noodles, or your favorite sides.
Homemade Char Siu is a delightful dish that brings the flavors of Cantonese barbecue into your kitchen. With its tender meat and distinctive glaze, it's sure to become a favorite for special occasions or whenever you crave something sweet and savory.
Mapo Tofu is a popular Sichuan dish known for its bold flavours—spicy, numbing, and deeply savoury. The dish combines soft tofu with ground meat (either pork or beef) in a spicy bean-based sauce, seasoned with Sichuan peppercorns to give it its signature numbing effect. Garlic, ginger, and fermented ingredients like doubanjiang (fermented broad bean and chili paste) and douchi (fermented black beans) add depth and complexity to the dish. Mapo Tofu is both a comforting home-cooked meal and a favorite in Chinese restaurants worldwide. It's typically served with steamed rice and is ideal for those who love spicy, flavorful food. Preparing Mapo Tofu requires a few specialized ingredients, but the cooking process is straightforward, making it accessible for cooks of all levels.
Ingredients Required
Soft tofu: 1 block (about 400g or 14 oz), cut into cubes
Ground pork or beef: 100g (about 3.5 oz)
Sichuan peppercorns: 1 teaspoon, ground
Doubanjiang (fermented broad bean and chili paste): 2 tablespoons
Douchi (fermented black beans): 1 tablespoon, rinsed and minced
Garlic: 3 cloves, minced
Ginger: 1 tablespoon, minced
Chicken stock: 1 cup
Soy sauce: 1 tablespoon
Sesame oil: 1 teaspoon
Cornstarch: 1 tablespoon, mixed with 2 tablespoons water (cornstarch slurry)
Green onions: 2, finely sliced for garnish
Vegetable oil: for cooking
Recommended Kitchen Gear
Wok or large frying pan
Wooden spoon or spatula
Knife and cutting board
Measuring spoons and cups
Small bowl for cornstarch slurry
Directions (How-to Make It)
Prepare the Tofu: Bring a pot of water to a boil and gently blanch the tofu cubes for about 1 minute to firm them up. Drain and set aside.
Cook the Meat: Heat vegetable oil in a wok or large frying pan over medium-high heat. Add the ground meat and cook until browned, breaking it up into small pieces.
Add Aromatics and Bean Paste: Add the minced garlic, ginger, doubanjiang, and douchi to the meat. Stir-fry until fragrant, about 1-2 minutes, making sure the paste is well mixed with the meat.
Simmer with Tofu: Pour in the chicken stock and bring to a simmer. Gently add the tofu cubes, trying not to break them. Stir gently to combine. Let the mixture simmer for about 5 minutes so the tofu absorbs the flavors.
Thicken the Sauce: Stir the cornstarch slurry and then add it to the pan, stirring gently until the sauce thickens.
Season: Add the ground Sichuan peppercorns and soy sauce. Drizzle with sesame oil and give it a final gentle stir.
Garnish and Serve: Transfer to a serving dish and sprinkle with sliced green onions. Serve hot with steamed rice.
Mapo Tofu is a testament to the rich, bold flavors of Sichuan cuisine, offering a delightful combination of textures and a complex layering of tastes. It's a must-try dish for lovers of spicy food and a great introduction to cooking with fermented ingredients.
Peking duck is a renowned dish from Beijing, China, celebrated for its crispy skin, succulent meat, and the elaborate preparation that dates back to the imperial era. This delicacy involves air-drying the duck, then roasting it until the skin becomes crisp and golden, often served with steamed pancakes, thinly sliced cucumbers, scallions, and hoisin sauce. Making Peking duck at home can be challenging but rewarding, offering a taste of China's rich culinary heritage. Ideal for special occasions or an adventurous weekend project, it requires patience and some specialized kitchen equipment.
Ingredients Required
Whole duck: 1 (about 5 to 6 pounds)
Boiling water: for scalding
Honey: 1 tablespoon
Soy sauce: 1 tablespoon
Rice vinegar: 1 tablespoon
Molasses or maltose: 2 tablespoons
Water: 1 cup (for the glaze)
Five-spice powder: 1 teaspoon
Fresh ginger: 2 slices
Green onions: 2, for stuffing
Salt: to taste
Recommended Kitchen Gear
Roasting pan with rack
Meat hook or strong string (for hanging the duck)
Basting brush
Steamer for pancakes
Sharp knife for carving
Cleaver (optional, for chopping)
Directions (How-to Make It)
Prepare the Duck: Clean the duck thoroughly and pluck any remaining feathers. Cut off the wings at the first joint and remove the giblets from the cavity. Rinse the duck inside and out, then pat dry with paper towels.
Scald the Duck: Bring a large pot of water to a boil. Hold the duck by its wings and scald the skin by ladling boiling water over it. This process helps tighten the skin.
Prepare the Glaze: In a saucepan, combine honey, soy sauce, rice vinegar, molasses (or maltose), and water. Bring to a simmer, stirring until the molasses has dissolved. Brush the duck with the glaze, then hang it to dry in a cool, airy place for 24 hours. A fan can help speed up this process.
Roast the Duck: Preheat your oven to 350°F (175°C). Stuff the duck with ginger and green onions, then season the cavity with salt and five-spice powder. Place the duck breast side up on a rack in the roasting pan and roast for about 1 hour and 15 minutes, or until the skin is richly browned and crisp. Baste occasionally with the remaining glaze.
Serve: Carve the duck and serve it with steamed pancakes, thinly sliced cucumbers, scallions, and hoisin sauce. Guests can wrap pieces of duck, cucumber, and scallion in pancakes, adding hoisin sauce to taste.
Creating Peking duck at home is a culinary adventure that brings a piece of Chinese cooking tradition into your kitchen. While it may not be a quick weeknight meal, the process is a rewarding experience that culminates in a truly spectacular dish.
Baking chicken breast is a simple, nutritious way to prepare a meal. Not only does it require minimal preparation, but it also retains the meat's tenderness and flavour when done correctly. This guide will walk you through the steps to achieve perfectly baked chicken breasts every time, ensuring they’re juicy and delicious.
What You'll Need
4 boneless, skinless chicken breasts
Olive oil or melted butter
Salt and pepper to taste
Optional: herbs and spices (e.g., garlic powder, paprika, rosemary)
Preparing Your Chicken Breast
Before you begin, preheat your oven to 375°F (190°C). This ensures that your chicken cooks evenly from the moment it enters the oven.
Pat the Chicken Dry: Use paper towels to pat the chicken breasts dry. This helps the skin crisp up and ensures even cooking.
Season: Brush each chicken breast with olive oil or melted butter. Then, season generously with salt, pepper, and any other herbs and spices you prefer.
Let It Rest: Allow the seasoned chicken breasts to rest at room temperature for about 15-20 minutes. This step helps in cooking the chicken more evenly.
How to Make Baked Chicken
Transitioning into the baking process involves a few crucial steps to ensure your chicken doesn’t just cook, but does so in a way that locks in moisture and flavor.
Place the Chicken on a Baking Dish: Arrange the chicken breasts in a baking dish. Ensure they’re not touching to allow for even heat distribution.
Insert a Meat Thermometer: If you have one, insert a meat thermometer into the thickest part of one breast. This will help you monitor the chicken's internal temperature without opening the oven frequently.
Bake: Place the baking dish in the preheated oven.
How Long to Cook Baked Chicken
The baking time can vary depending on the size and thickness of your chicken breasts. A general guideline is:
For small chicken breasts (5-6 ounces), bake for 20-30 minutes.
For medium chicken breasts (8 ounces), bake for 25-35 minutes.
For large chicken breasts (11-12 ounces), bake for 30-40 minutes.
The chicken is done when its internal temperature reaches 165°F (74°C). Always use a meat thermometer to ensure it’s cooked through.
Rest Before Serving
Once your chicken breasts are cooked, it's crucial to let them rest for about 5-10 minutes before slicing. This step allows the juices to redistribute throughout the meat, ensuring your chicken is moist and flavorful.
Serving Suggestions
Baked chicken breast is incredibly versatile. Serve it sliced with a side of vegetables, atop a salad, or even in pasta. The possibilities are endless!
Conclusion
Baking chicken breast doesn’t have to be daunting. By following these simple steps, you can prepare a delicious, healthy meal that will satisfy your hunger and taste buds. Remember, the key to juicy, flavorful chicken is not just in how you bake it, but also in allowing it to rest before enjoying your perfectly cooked meal.
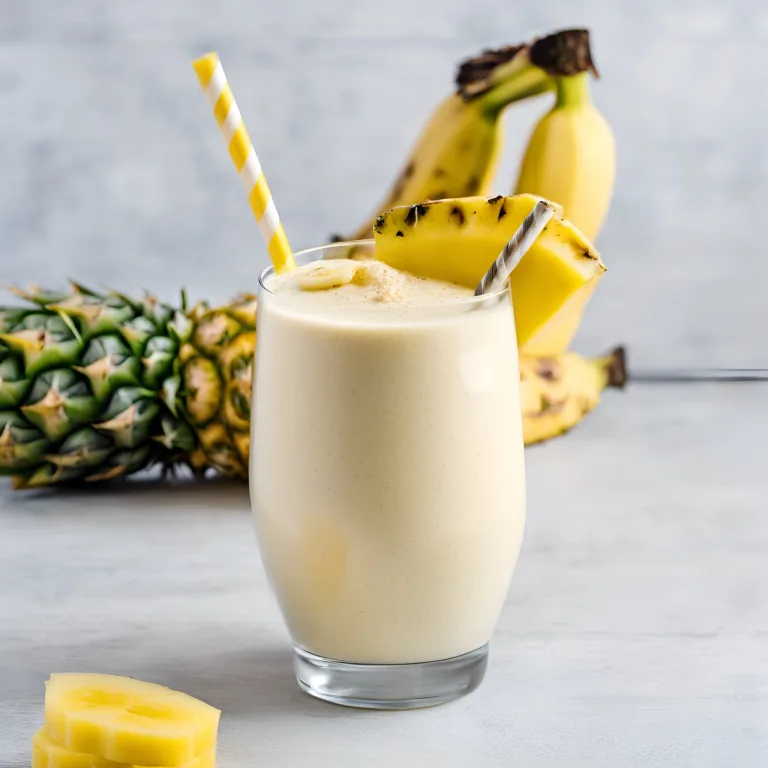
Today's smoothie recipe spotlight is shining on a tropical delight that's bound to whisk you away to a sunny beach with every sip: the Pineapple and Banana Smoothie. This smoothie is not just a breeze to whip up, making it perfect for those busy mornings or a quick, refreshing snack, but it's also packed with vitamins, fiber, and the sweet, tangy flavors of summer. Ideal for anyone looking to add a little sunshine to their day, this smoothie could become your go-to for a nutritious breakfast or a light, energizing pick-me-up.
Ingredients for Pineapple and Banana Smoothie
1 cup chopped fresh or frozen pineapple
1 ripe banana, sliced
1/2 cup Greek yogurt or coconut milk for a tropical twist
1/2 cup orange juice or pineapple juice, depending on your preference for sweetness or tanginess
A handful of ice cubes (omit if using frozen pineapple)
Optional: 1 tablespoon chia seeds or flaxseeds for a fiber boost
Optional: A drizzle of honey or agave syrup for added sweetness, if desired
How to Make Pineapple and Banana Smoothie Step-by-Step
Prep Your Fruit: If you're using fresh pineapple, peel, core, and chop it into chunks. Slice the banana into smaller pieces to ensure a smooth blend.
Blend the Base: In your blender, combine the chopped pineapple, banana slices, Greek yogurt (or coconut milk), and orange (or pineapple) juice. If you're opting for chia seeds or flaxseeds, add them now.
Create the Perfect Consistency: Add the ice cubes to your mixture if you're using fresh fruit. Blend on high until everything is thoroughly combined and the smoothie reaches a creamy, silky texture. If the mixture is too thick for your liking, you can add a little more juice to thin it out.
Adjust to Taste: Taste your smoothie and decide if you'd like it sweeter. If so, add a little honey or agave syrup and blend again briefly to mix.
Serve and Enjoy: Pour your Pineapple and Banana Smoothie into glasses and serve right away. Garnish with a slice of pineapple or banana on the rim of the glass for that extra special touch.
This Pineapple and Banana Smoothie is like a mini-vacation in a glass, combining the exotic flavors of pineapple and banana with the creamy texture of Greek yogurt or coconut milk. It's a fantastic way to start your day or recharge your batteries in the afternoon with something sweet, healthy, and utterly refreshing. Keep blending and enjoying, and remember, yumoid.com is your destination for fun, easy, and delicious recipes!
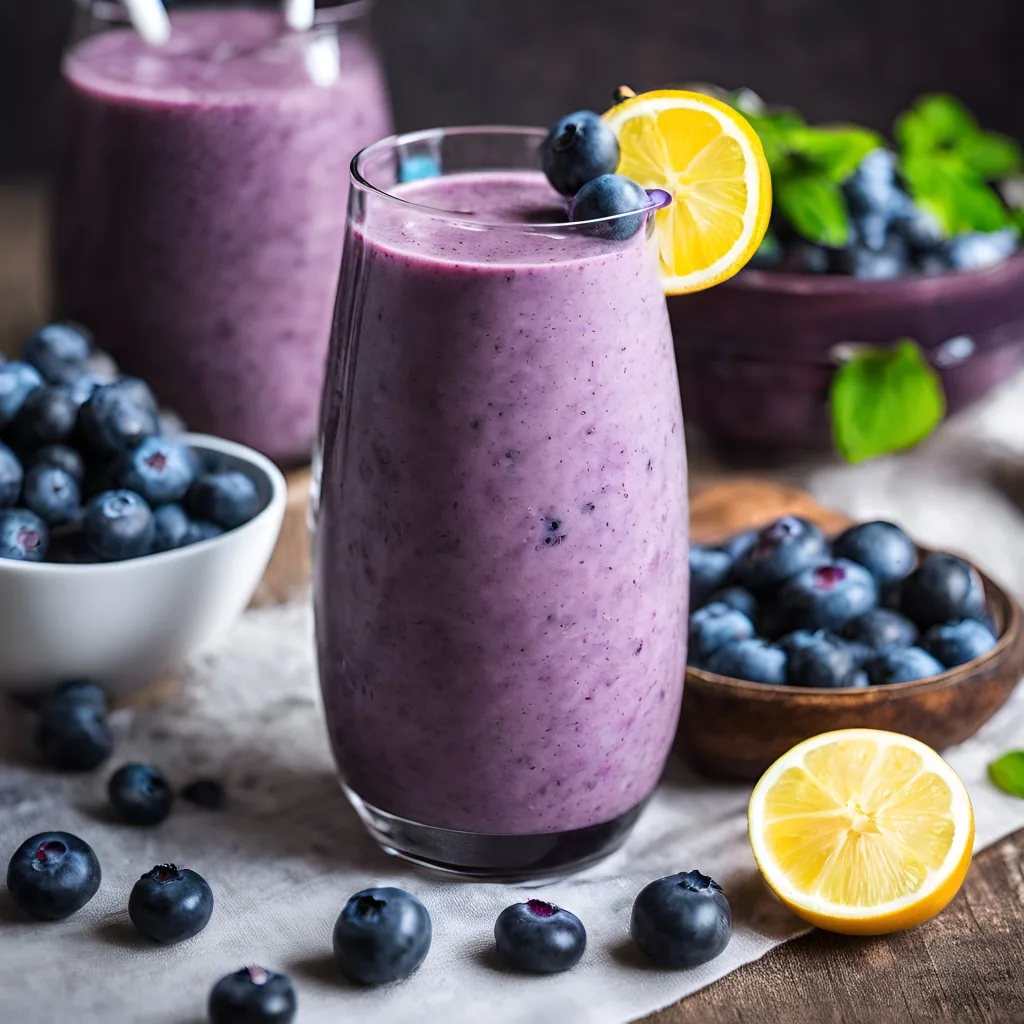
Welcome to another delicious adventure at yumoid.com! Today, we're diving into a recipe that's as easy to make as it is delightful to drink: the Blueberry Smoothie. Perfect for those hectic workday mornings or a refreshing afternoon treat, this smoothie combines health with taste in a way that's sure to please. Whether you're a smoothie aficionado or just looking for a quick and nutritious option, this recipe is for you. Not only is it packed with antioxidants thanks to the blueberries, but it also offers a creamy texture and a naturally sweet flavour that can kick-start your day on a positive note or provide a lovely, light dessert option for your Sunday dinner.
Ingredients for Blueberry Smoothie
1 cup fresh or frozen blueberries
1 banana, sliced
1/2 cup Greek yogurt
1/2 cup milk (any kind you prefer)
1 tablespoon honey or maple syrup (adjust to taste)
A handful of ice cubes (omit if using frozen blueberries)
Optional: a pinch of cinnamon or a scoop of your favorite protein powder for an extra kick
How to Make Blueberry Smoothie Step-by-Step
Prepare Your Ingredients: If you're using fresh blueberries, wash them thoroughly. Slice the banana into small pieces to make blending easier.
Combine the Ingredients: In a blender, combine the blueberries, sliced banana, Greek yogurt, milk, and honey or maple syrup. If you're adding cinnamon or protein powder, include it in this step.
Blend Until Smooth: Add the ice cubes to the blender if you're using fresh blueberries. Blend all the ingredients on high speed until the mixture is smooth and creamy. If the smoothie is too thick, you can add a little more milk to reach your desired consistency.
Taste and Adjust: Give your smoothie a taste and adjust the sweetness if necessary by adding a bit more honey or maple syrup.
Serve Immediately: Pour the smoothie into a glass and enjoy immediately. For an extra touch, you can garnish with a few whole blueberries or a mint leaf.
And there you have it, a simple yet utterly satisfying Blueberry Smoothie that's perfect for any time of the day. Whether you're rushing to get out the door in the morning or looking for a quick and healthy snack, this smoothie is a fantastic choice that won't disappoint. Enjoy your blend of flavors and health benefits, and stay tuned to yumoid.com for more tasty, easy-to-make recipes!
Dive into the heart of Italian cuisine with Creamy Tuscan Chicken, a dish that marries the robust flavors of the Tuscan region with the comfort of creamy sauce and tender chicken. This recipe is a celebration of simple ingredients coming together to create a meal that's both hearty and elegant. Perfect for a cozy dinner at home, impressing guests, or just treating yourself to a delicious and satisfying meal, Creamy Tuscan Chicken is sure to become a favorite. With minimal prep and a handful of kitchen staples, you'll be able to whip up this restaurant-quality dish in no time, filling your kitchen with the irresistible aroma of garlic, herbs, and sun-dried tomatoes.
Equipment Required
Large skillet or frying pan
Knife and cutting board
Measuring cups and spoons
Wooden spoon or spatula for stirring
Ingredients Required
4 boneless, skinless chicken breasts
Salt and pepper to taste
2 tablespoons olive oil
3 cloves garlic, minced
1 cup heavy cream
1/2 cup chicken broth
1 teaspoon Italian seasoning
1/2 cup sun-dried tomatoes, chopped
1/2 cup grated Parmesan cheese
2 cups fresh spinach
Optional: Fresh basil for garnish
Directions (How-to Make It)
Prepare the Chicken: Season both sides of the chicken breasts with salt and pepper. In a large skillet, heat the olive oil over medium-high heat. Add the chicken breasts and cook until golden brown on both sides and cooked through, about 6-8 minutes per side. Remove the chicken from the skillet and set aside.
Make the Sauce: In the same skillet, add the minced garlic and sauté for about 1 minute until fragrant. Pour in the heavy cream, chicken broth, and Italian seasoning. Stir to combine and bring the mixture to a simmer.
Add the Sun-Dried Tomatoes and Parmesan: Stir in the sun-dried tomatoes and grated Parmesan cheese. Let the sauce simmer for a few minutes until it begins to thicken slightly.
Incorporate the Spinach: Add the fresh spinach to the skillet and cook until the spinach has wilted, about 2-3 minutes.
Return the Chicken to the Skillet: Place the cooked chicken breasts back into the skillet, spooning the sauce over them to coat. Cook for another 2-3 minutes to ensure the chicken is heated through and infused with the sauce flavors.
Serve: Transfer the chicken breasts to plates and spoon the creamy Tuscan sauce over the top. Garnish with fresh basil if desired.
Creamy Tuscan Chicken is a dish that truly showcases the power of simple, flavourful ingredients combined in the right way. The creamy sauce, enriched with the tang of sun-dried tomatoes and the earthiness of spinach, perfectly complements the juicy chicken breasts, making every bite a delight. Serve this dish over pasta, rice, or with a side of crusty bread to soak up the delicious sauce for a meal that's sure to transport you to the rolling hills of Tuscany.